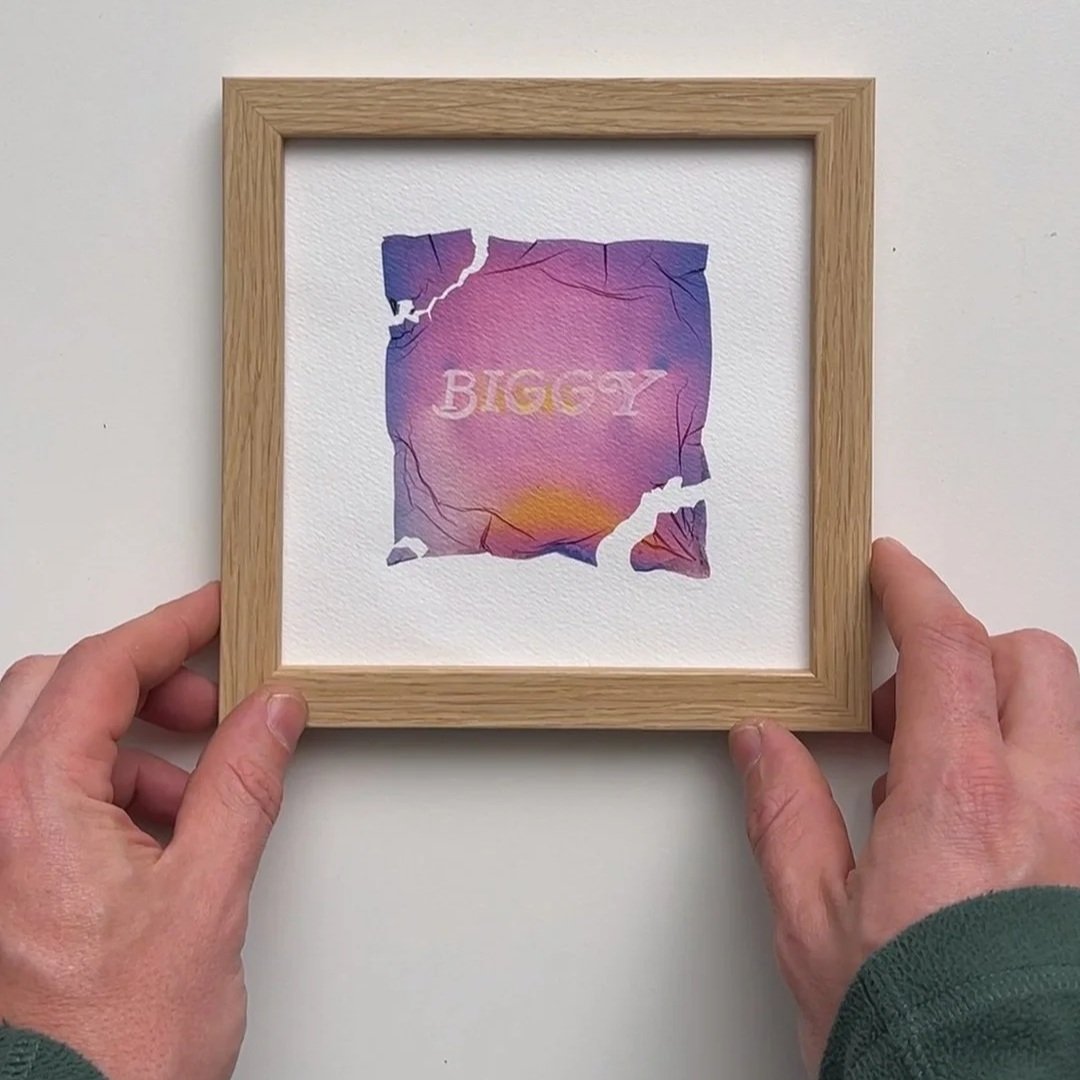
How to Do Polaroid Emulsion Lifts with Modern Film
A lot has change since I wrote my original Polaroid Emulsion Lift Tutorial - including how I now approach this technique. I’ve made about 1000 lifts in the last couple of years, and have learned a lot in the process, particularly since starting Polaroid workshops in 2026 and teaching the method to others.
This updated tutorial covers my current preferred approach to making polaroid lifts, though it works best for Polaroids that are fresh, around one hour old. The previous method still works best for older Polaroids, say 3-24hrs, once the chemistry has started to harden. However, one thing I’ve found with making a lot of these, is that the film is very unpredictable, and can vary significantly from pack to pack. You never really know what you are going to get, so understanding both approaches, and when to use one or the other based on what the film is doing, is an important skill to learn. I always start with my least favourite photo to get a feel for how the film is going to work, and make adjustments based on this first lift.
Polaroid emulsion lifts are pretty simple in theory but tricky in execution, and there are a few bits of gear you’ll need to get it done:
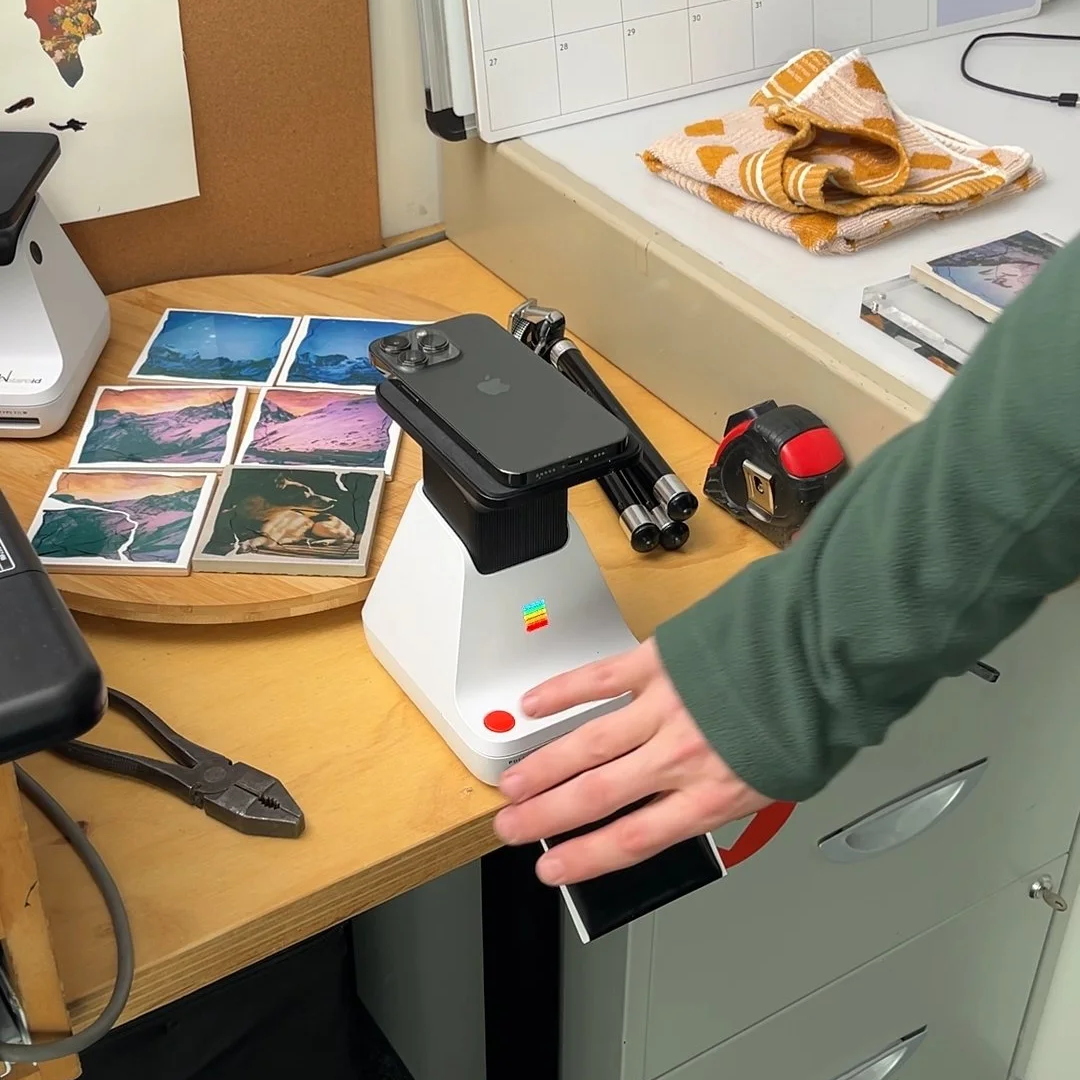
A polaroid camera is the most obvious one to start with, along with some polaroid film. Any ones (new or old) will work, I use a Polaroid Sun 660, Polaroid Flip and Polaroid Lab for my lifts, along with Polaroid 600 and I-Type film
Some scissors, some trays, a small fan brush, a small round brush (e.g. #1), a pipette, a plastic cup, some gloves and a kettle
Thick water colour paper, around 300gsm, I often use the A4 Fabriano Studio Water Colour Pads (Hot Pressed)
Step 1: Take the Polaroid
Print your Polaroid and leave it for 1 hour to cure. This time frame is important, giving the colours enough time to develop while not leaving it so long that the chemicals harden. In warmer climates, you may find you don’t need to leave it quite this long.
Step 2: Trim and Peel the Polaroid
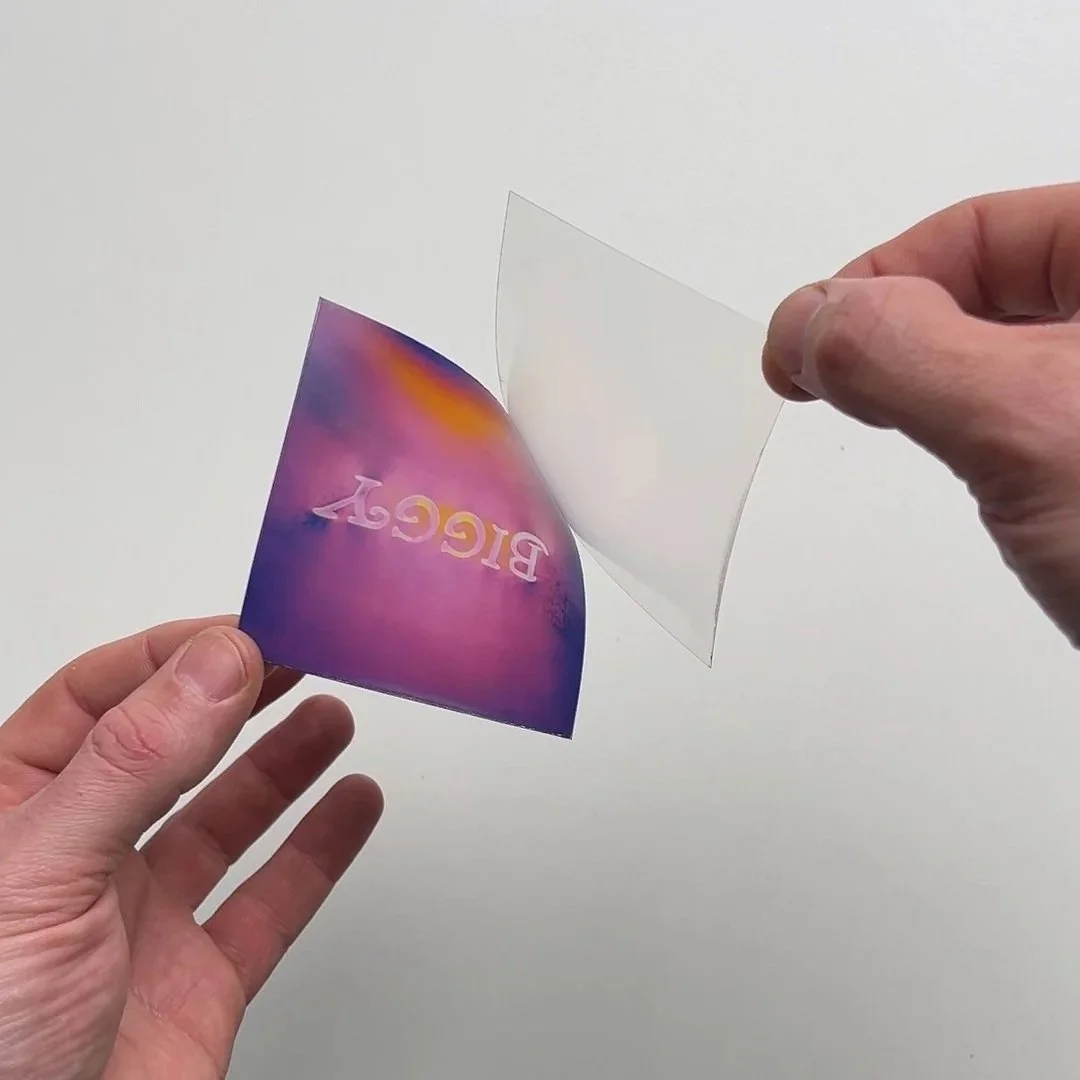
Cut off the white borders and peel it apart. A fresh emulsion should stick to the rear as you peel away the clear front layer. I find it easiest to separate these by catching the front with the ridges on my finger prints, rather than going in with a finger nail.
NOTE: There are 5 ‘layers’ to the polaroid print. A plastic front, behind which sits a clearish sort of ‘gel’ layer. You’ve then got your emulsion which is holding your image, and behind that the chemistry and then the negative. While doing the peel, one of two things will happen, your photo will either stick to the chemistry on the back of the print or to the clear gel at the front. If it sticks to the chemistry, the emulsion will be very delicate, but it will come away very easily - this is what we are expecting with this specific tutorial. If it sticks to the front gel/plastic layer for some reason, it’s best to continue on from this point in the old tutorial.
Step 3: Soak the Polaroid
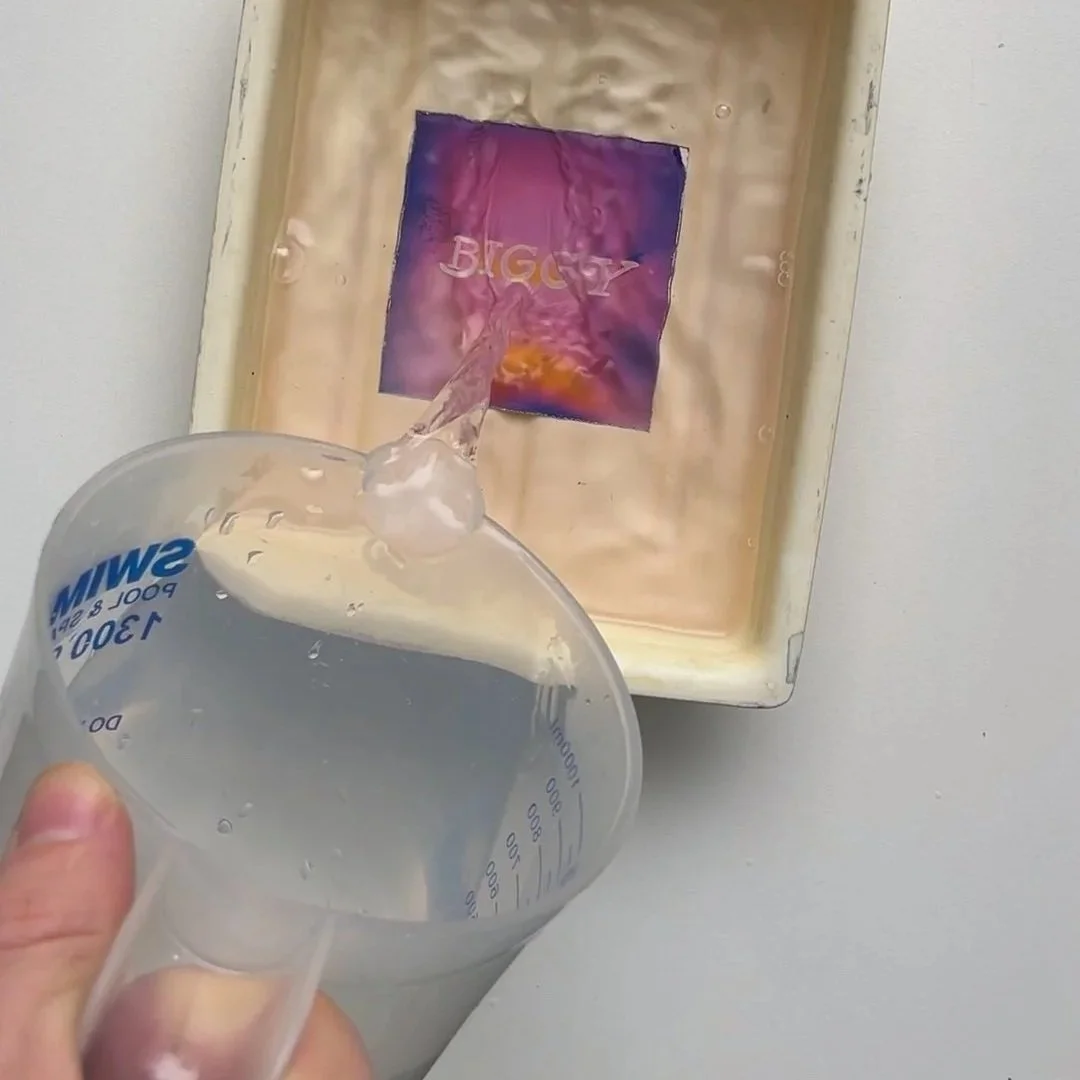
Once it is peeled, put it into a small tray. Fill this tray with hot water, around 65 degrees celsius and leave it to lift, which should take a few minutes. If it is struggling to lift, your water isn’t hot enough, and if it lifts too quickly the water is too hot, and the emulsion will be very fragile. You can ‘encourage’ the lift by pushing water underneath the emulsion with the fan brush, but it’s best just to wait.
Step 4: Lifting the Emulsion
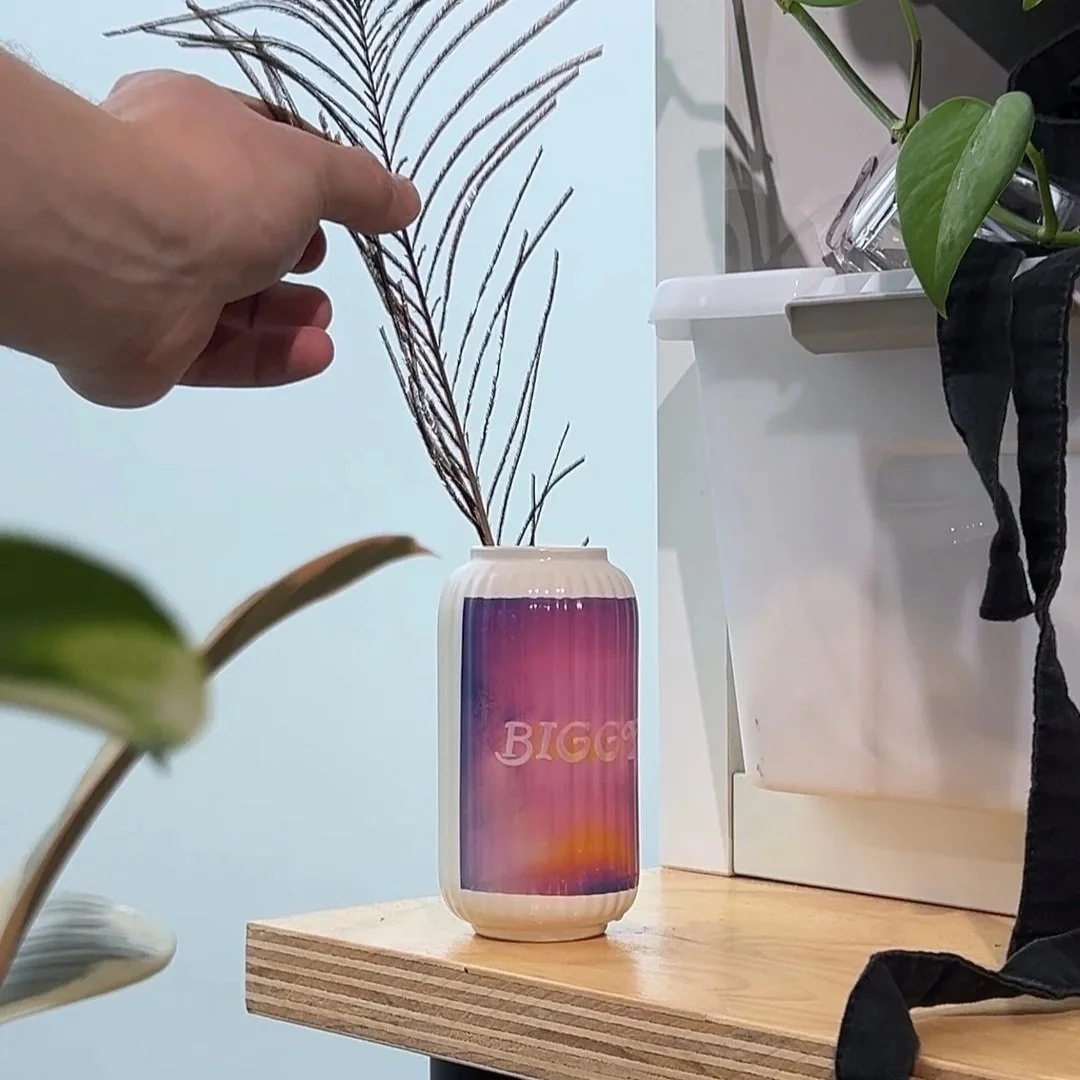
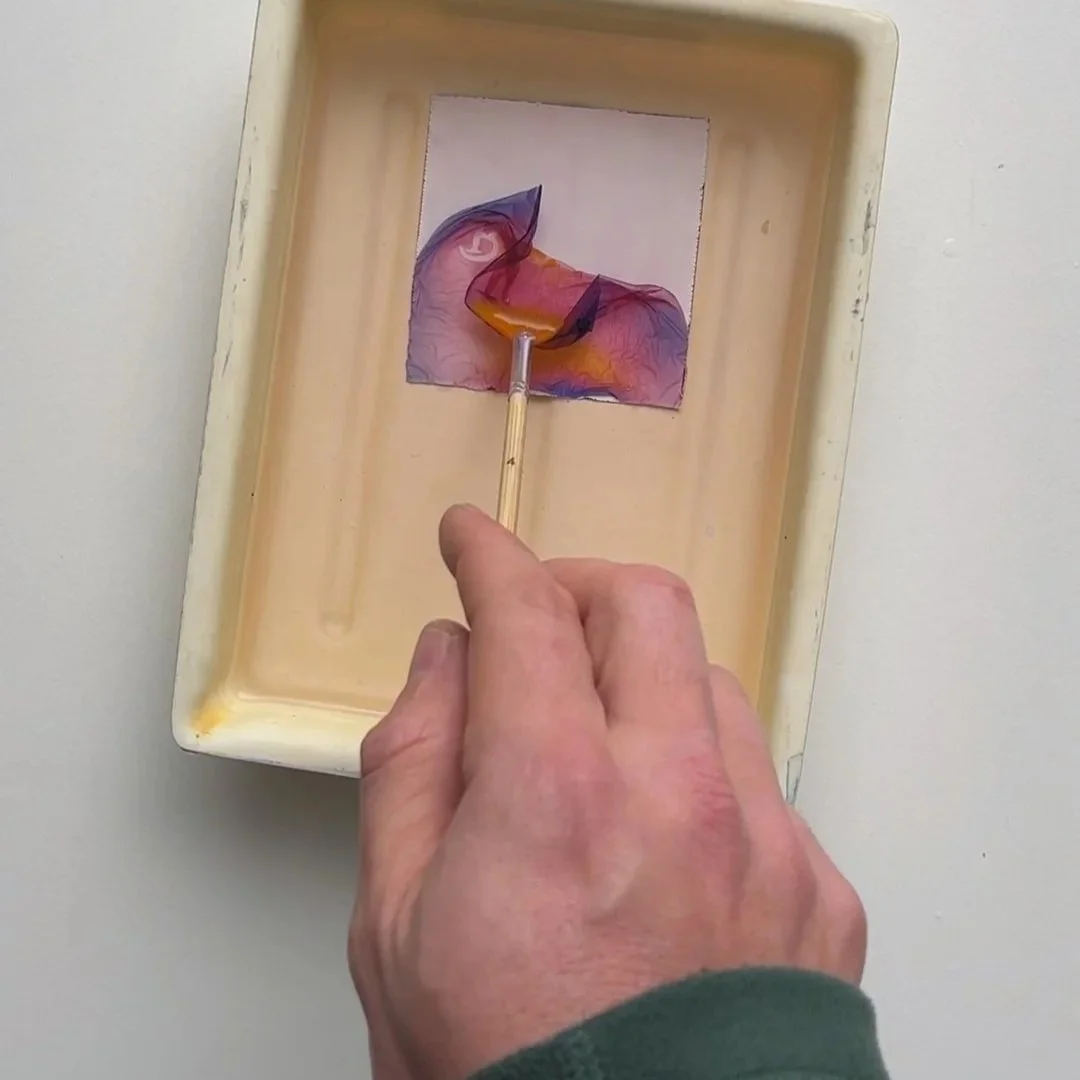
Now it has lifted, gently brush it away from the chemical sludge and suck it up into a cup. Discard this water and the backing plastic, though you can also find a negative here if you’d like to. Fill a large tray with room temperature water. We can stick the emulsion to just about anything, such as this vase, but a good place to start is watercolour paper. Put your substrate into the tray, and pour your polaroid in.
Step 5: Untangling the Emulsion
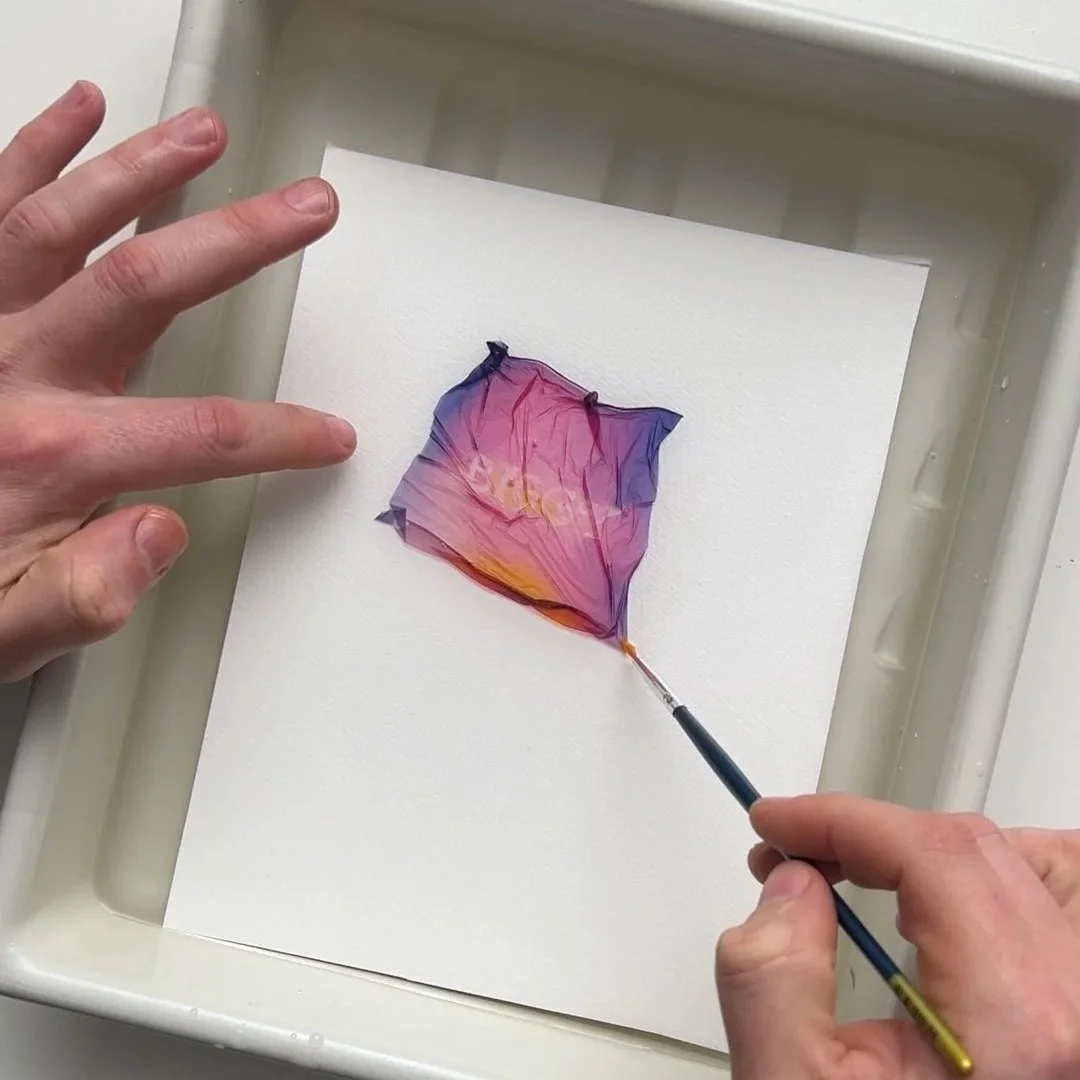
This is where it helps to have some patience, as we need to untangle the emulsion. This can be tricky, but we don’t need it to be perfect, and we only really need one straight edge for the next step. Everyone panics with this step, but honestly don’t stress about it too much, as the emulsion will be much easier to manage once it’s partially stuck to the substrate. If the photo is the wrong way around it’s not a huge issue, but you can fix it by grabbing the emulsion by the corners and giving it a quick flip. Through a bit of practice you’ll find it is surprisingly resilient, at least until it tears.
Step 6: Transferring the Emulsion
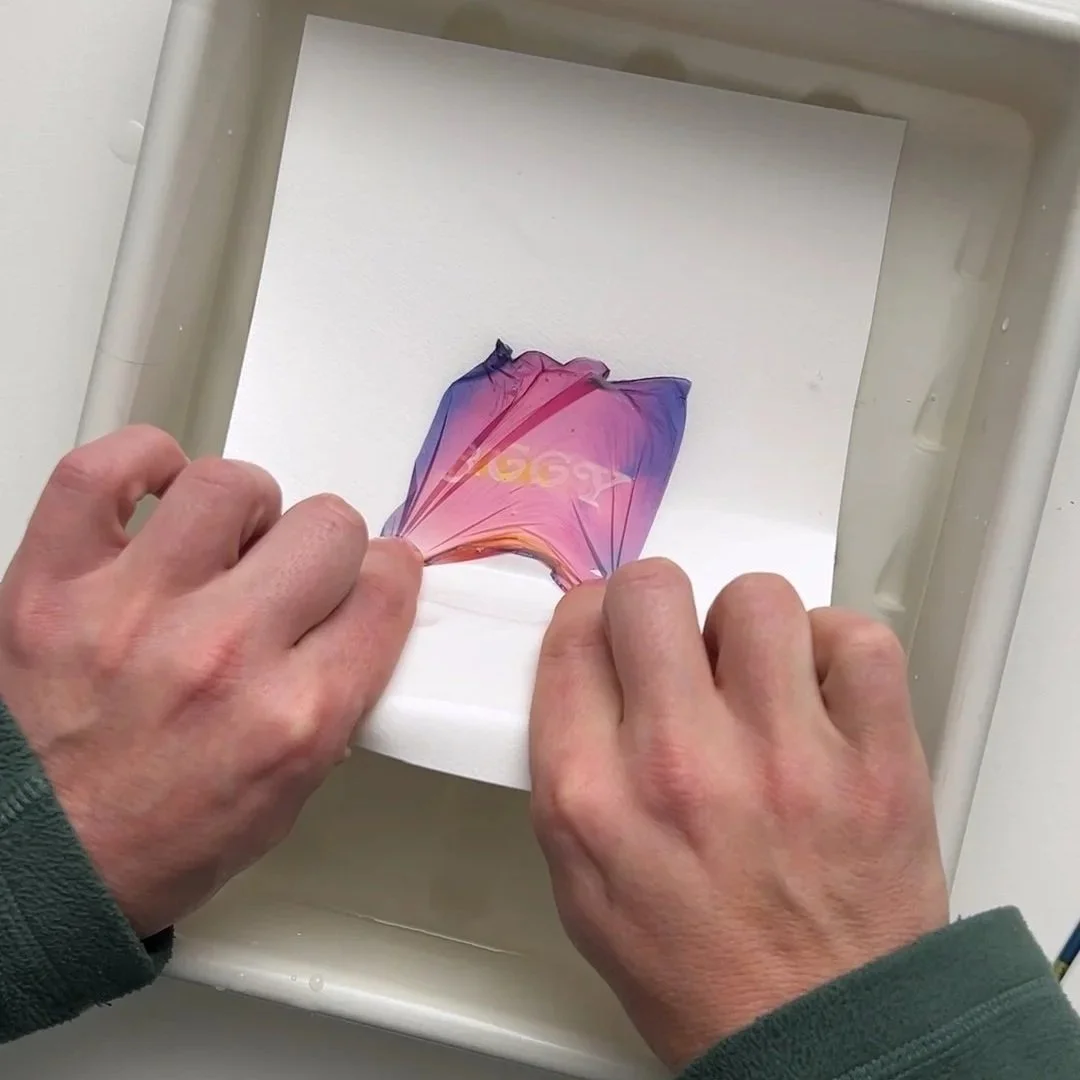
Once we’ve got that edge unravelled, we can pick it all up. A common technique for paper is to press down with your index fingers, hitting the bottom of the tray to catch the emulsion, then sneaking your thumbs in behind the paper to pinch it all together. I also often use my brushes to guide and hold the emulsion where I want it too, but this technique requires a bit more practice and dexterity.
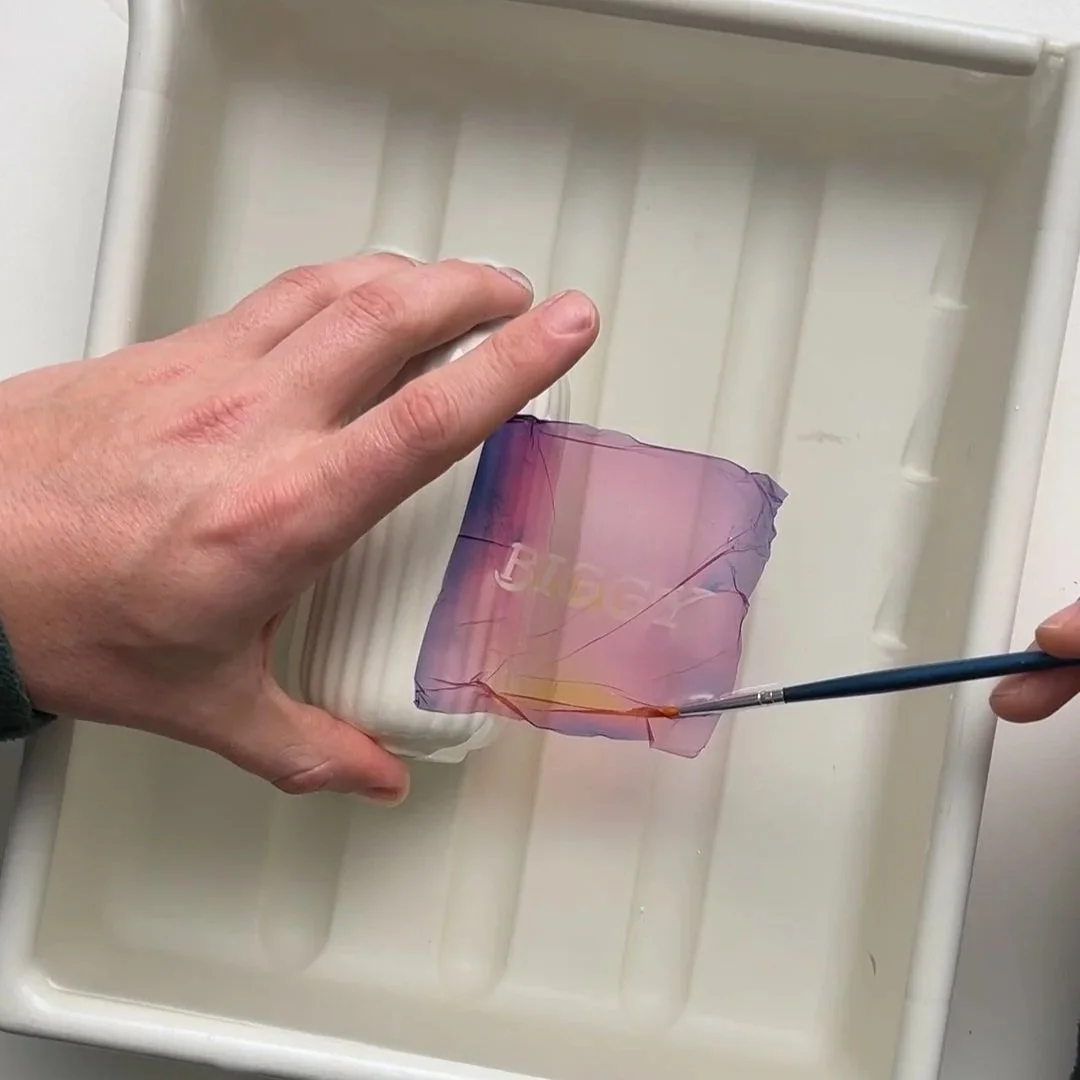
Step 7: Fixing the Photo
Now it is attached we can really start to sort out the wrinkles. You can do this by partially dipping the paper into the water and giving it a jiggle to unstick things, or carefully using a brush to pull out the wrinkles with more precision. Go around from edge to edge, straightening each side out until you have a nice flat print.
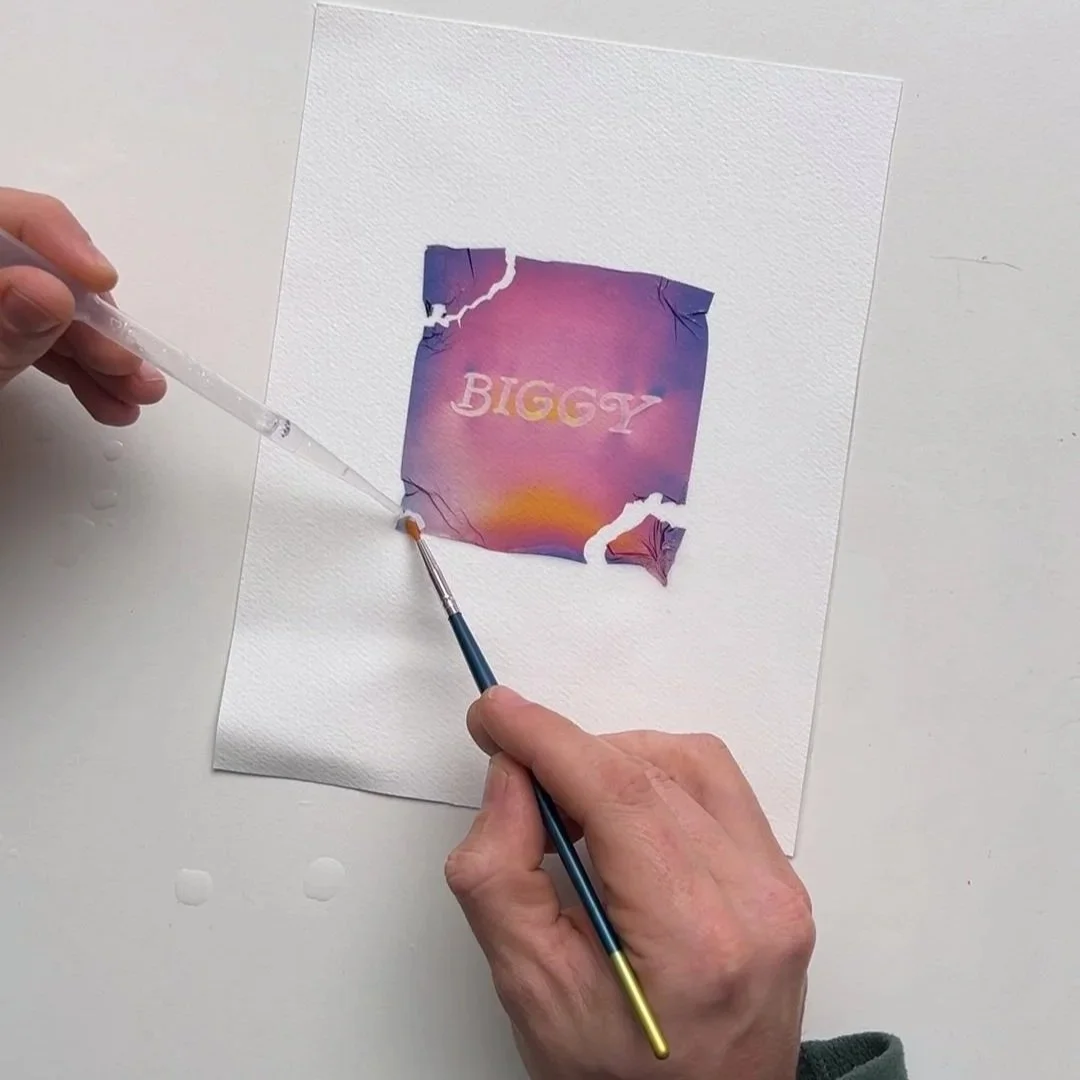
Step 8: Manipulate the Emulsion
If you tear things I wouldn’t stress as I think it adds to the aesthetic, and I often add tears and wrinkles after completing the transfer. The emulsion will be fairly malleable while it is still wet, and you’ll be able to push and pull it around, painting in texture. There will be a change in tension as it starts to dry out, but you can add more water with a pipette if needed.
You can also go for a perfectly clean transfer, but I will say this is much harder to do this well, and I prefer embracing the textural possibilities of emulsion. Once you are happy with it however, let it dry flat on a table, and in an hour or so you’ll have your completed polaroid lift! Keep it out of the sun and heat as it won’t last forever, but enjoy it while it does.
Once you are done, leave your print somewhere to dry, but keep it out of direct sunlight or the colours will change. If the paper ends up a bit wonky after it’s dried, you can flatten it out by popping in under some heavy books for a while.